How to make a Professional Github Profile Using README File
Precision is a symbol of professionalism.
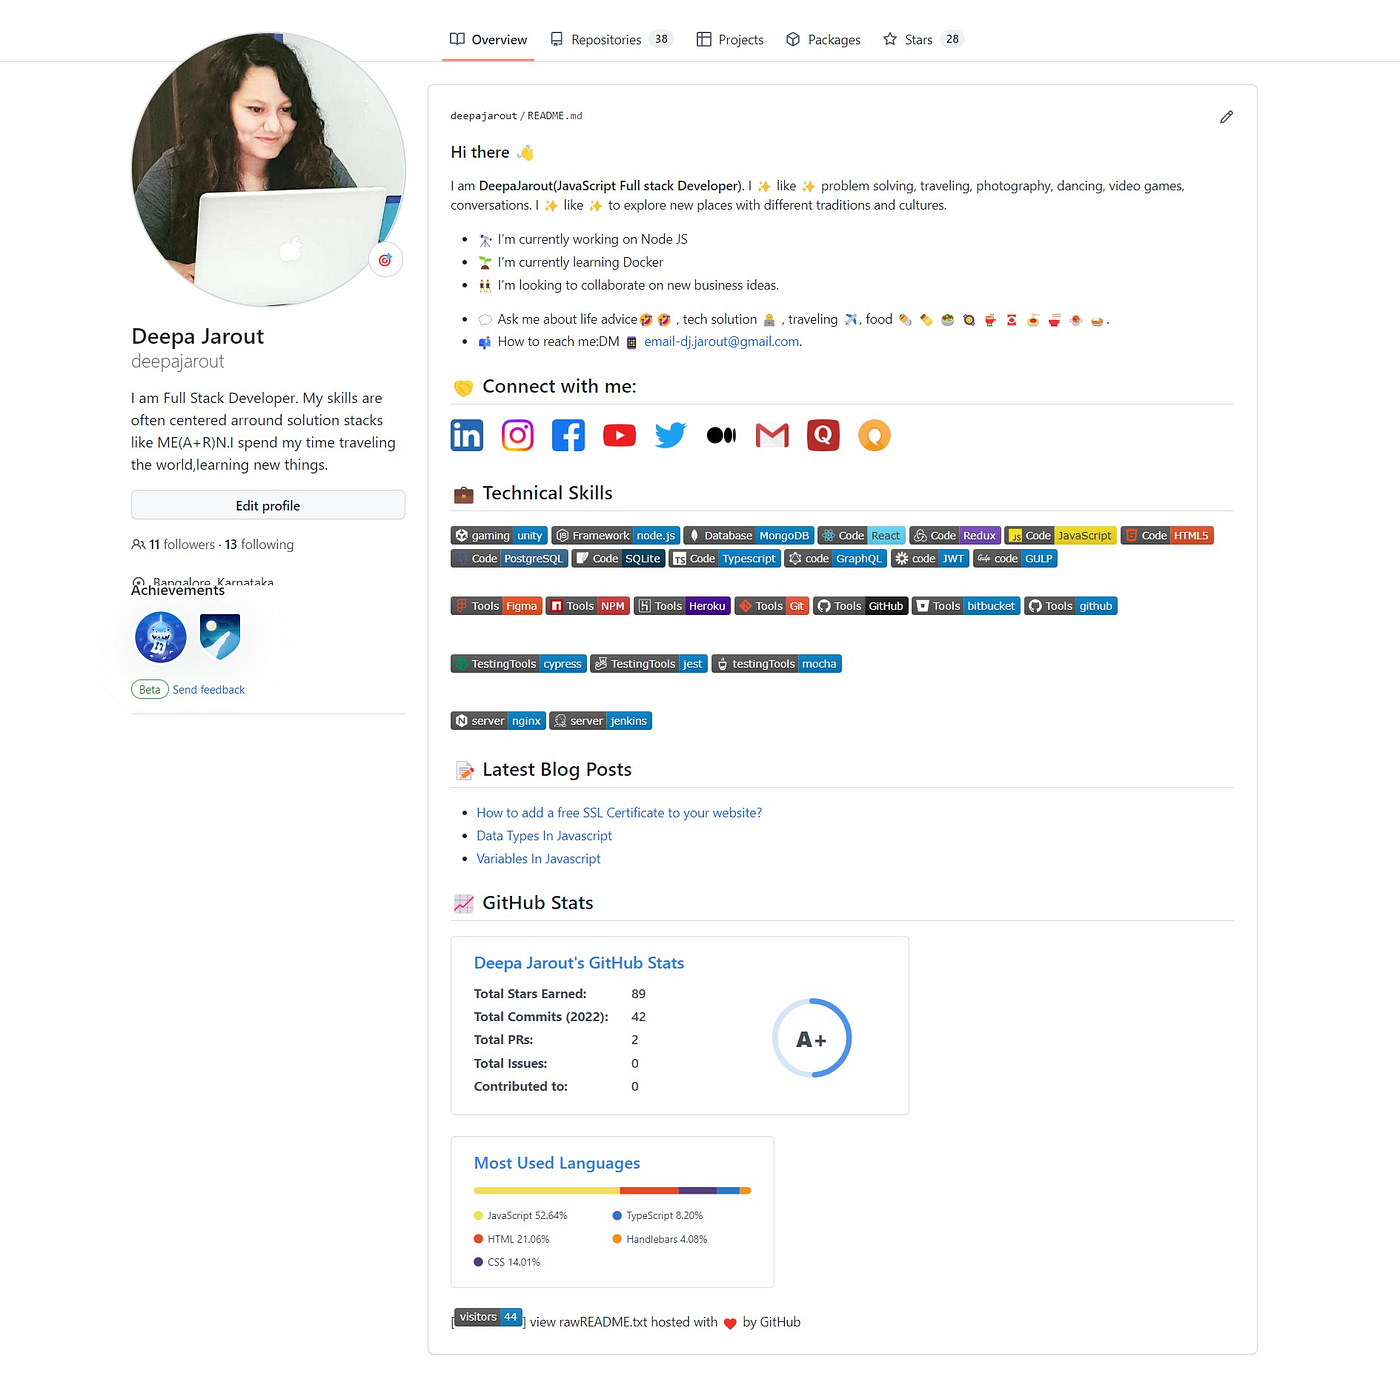
An elegant way to show your skills on a GitHub profile is by using a README.
In this blog, I’m going to reveal how a pro programmer creates a GitHub profile using a README.md file.
The first step is to decide what information you need to include in your profile README. Some things the visitors may find engaging and helpful in your profile README are:
- A section that describes your work and interests — the “About me” section.
- Your most influencing contributions, and a summary of those contributions
- It will guide the visitors in getting help in communities where you’re involved.
You can add emojis, images, and GIFs to your profile README by using GitHub Flavored Markdown.
Necessary Conditions-
The following things need to be true then GitHub will display your profile README on your profile page :
- You’ve created a repository with a name that matches your GitHub username.
- The repository is public.
- The repository contains a file named README.md in its root.
- The README.md file contains the content of your choice.
Adding a profile README
- Use the drop-down menu in the upper-right corner of any page, and select New repository.

2. Under “Repository name”, type a repository name that matches your GitHub username. For example, if your username is “deepajarout”, the repository name must be “deepajarout”.

3. Select Public.

4. Select Initialize this repository with a README.
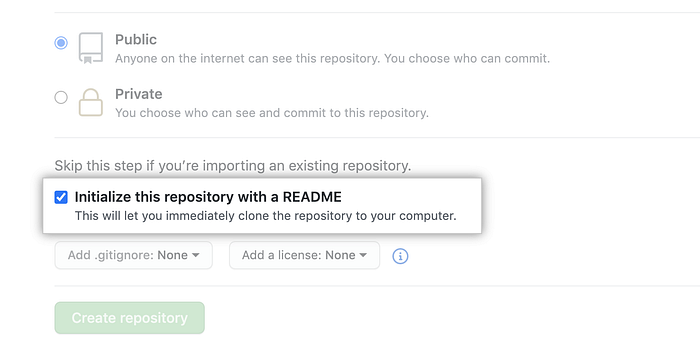
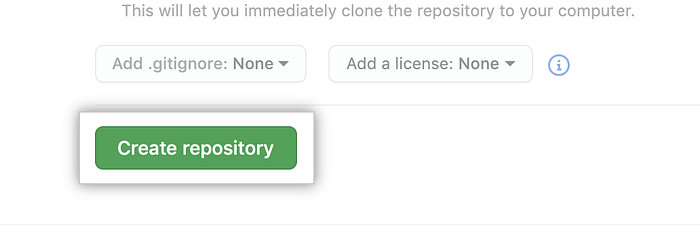
5. Click Create repository.
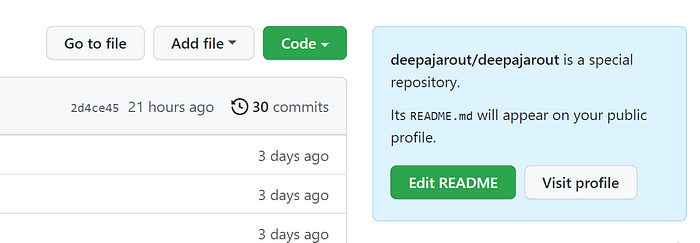
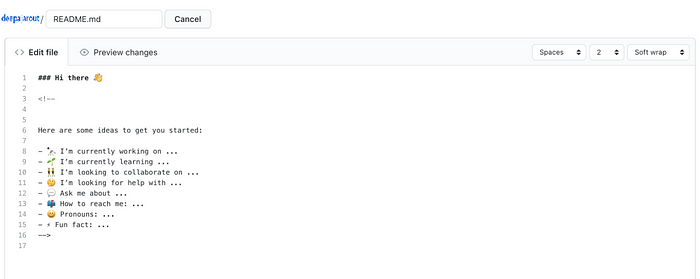
6. Above the right sidebar, click Edit README.
7. The generated README file is pre-populated with a template to give you some inspiration for your profile README.
For a summary of all the available emojis and their codes, see “Emoji cheat sheet.”
How to Add Social Media Icons

For the social media icons, I downloaded icons from google you can also download icon and put it in your repository and Use the code below.
<a href=”https://twitter.com/deepajarout"><img align=”left” src=”https://raw.githubusercontent.com/deepajarout/deepajarout/main/5296514_bird_tweet_twitter_twitter logo_icon.png” alt=”deepa Jarout| Twitter” width=”35px”/></a>
Enter your username, repo name, branch, folder name, and file name. Make sure to change the href link to your own link.

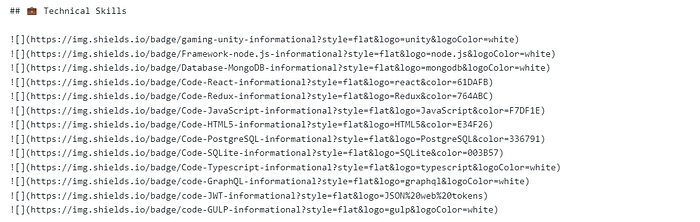
How to Add Technical skills Badges

For the Technical skills Badges, I am using Shields.io
You can use the following code to show your badges.
<img alt=”React” src=”https://img.shields.io/badge/react-%2320232a.svg?style=for-the-badge&logo=react&logoColor=%2361DAFB"/>
Or

How to add GitHub Status Card
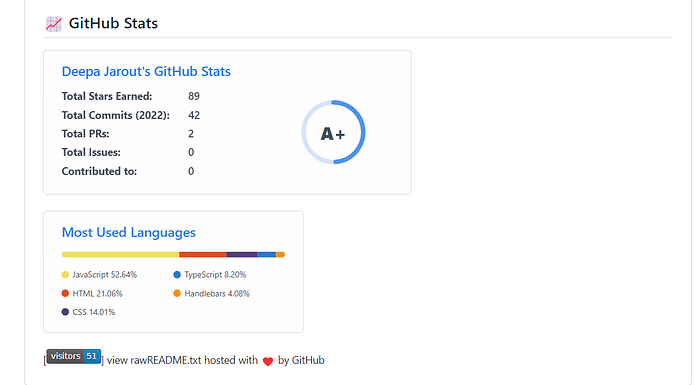
You can also add a cool GitHub status card to your GitHub profile. It will show you real-time stats for your GitHub account.
If you want to use the one I am using, copy and paste the code below.
[](https://github.com/deepajarout)
[](https://github.com/deepajarout)
Make sure to change my GitHub username deepajarout to your GitHub username.
Only change the username, don’t change anything else.